
What is Flask?
Flask is a Python framework for web development. When creating complex and large sites that are backend-heavy, you will want to use a backend framework. Currently, the 2 Python frameworks that are the most useful to learn are Flask and Django. Flask being a lightweight framework can be used to quickly set up a basic application with few lines of code.
from flask import Flask
app = Flask(__name__)
@app.route('/')
def hello_world():
return 'Hello World'
if __name__ == '__main__':
app.run()
What is Microsoft Azure?
Microsoft Azure is a cloud computing service created by Microsoft for building, testing deploying, and managing applications and services. Azure cloud service has app service, virtual machine, web application firewalls, databases, and more. All you need to deploy a test or production application is available on this service.
In this blog, we are going deploy a simple Flask application on Azure web apps service in the following steps
Step 1
Login to your Azure account. https://portal.azure.com
Step 2
In the search panel, enter “App services”
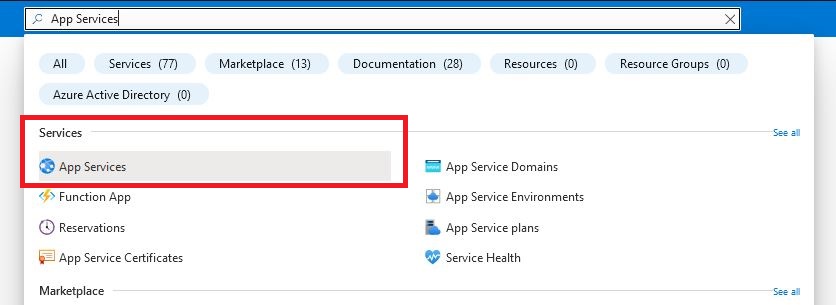
Step 3
Click on create new app service
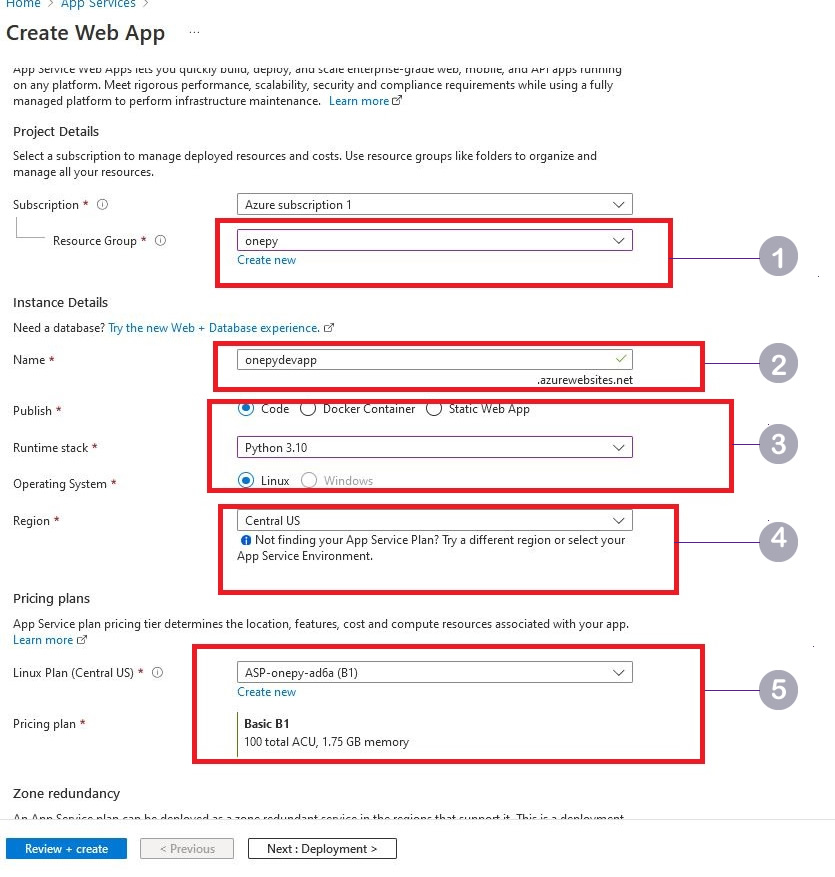
Point 1 – Select a resource group or create new group
Point 2 – Provide a name for the application, this name forms part of the final url through which you can access your Flask application deployed.
Point 3 – Select the python version. Depending on your application’s python version dependency, you can currently select from python 3.7 to 3.10
Point 4 – Select the region. This part is very important, your application should be deployed as close to the users as possible i.e if users using your application will be in the US, you should deploy in that region for faster load time.
Point 5 – Select a plan. This is the payment part. You can pick a Dev or production plan. For the purpose of this blog, we will use the default plan

Point 6 – If you use GitHub as a repository for your project, you can configure this option. We will proceed for now.
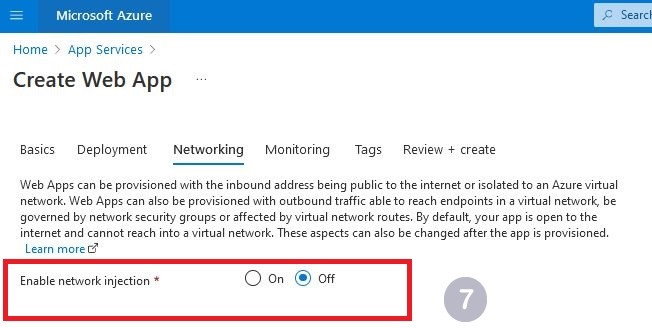
Point 7 – This is a more advanced setup that will require the setup of a virtual network out of the scope of this post. Since we need our application to be public, the default currently works perfectly
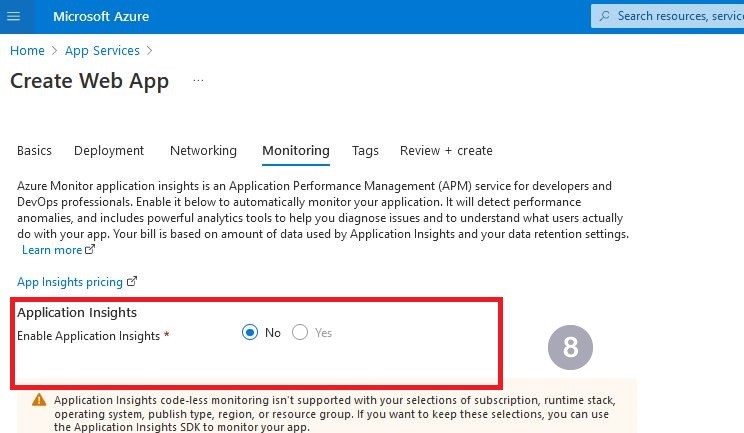
Point 8 – Azure Monitor is a data analytics tool that offers real-time insights into the performance and health of your applications.

Point 9 – Click on create to complete the setup

Point 10 – Go to the app and select “Deployment Center”
Point 11 – Select “FTPS credentials” and note the username and password
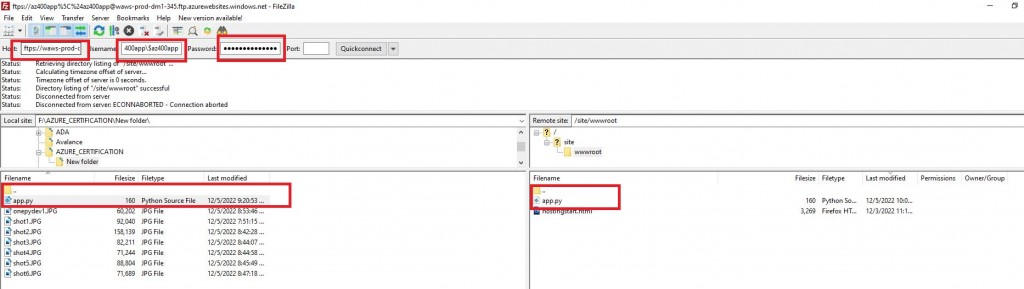
Download Filezilla or any FTP client, and enter the username and password of the app service we recently created on Azure to upload the sample app named “app.py”.
Once the upload is complete, head back to your app service, under overview, and copy the URL

Load the URL on your browser to see the “Hello World” response.
Ok, that’s it. You can choose to expand this app further by adding a database connection, we will look into this in subsequent blogs.